Wednesday, March 30, 2011

Product Showcase - Wild Card

I have had such an amazing time sharing with all of you this month! It has been great sharing ideas, projects and tutorials with you. Today I just wanted to share a few projects I created.


I created this birthday card using the Life Documented kit from Simple Stories. I truly love how versatile Simple Stories is. I have used materials from this kit for a full scrapbook album, altered projects, cards and so much more! All from just one kit!


This layout was created using the My Mind's Eye Alphabet Soup Girl line. The chipboard elements are so awesome! They are self adhesive and they stick amazingly well. Each Thursday in the Summer, the botanical garden at our local university hosts a "Books and Blooms" event. They read stories, play music and have other great activities for kids all right there in the beautiful gardens. Before going to the event my daughter and I would stop off at our favorite cupcake boutique and share a cupcake for breakfast. The My Mind's Eye papers and embellishments were perfect for documenting this because of all of the "sweets" as well as the nature elements. I think they made it just for me!

Thank you so much for allowing me to share with you this month. I hope I was able to give you some new ideas and maybe inspire a new project. Be sure to check back here every day for new ideas and inspiration. Our TeamWorks members and guest designers always have amazing things to share with you!

Tuesday, March 29, 2011

Guest Designer Tues: Creative Organizational Inspiration!

Remember the dozen cards I made in the tutorial a few weeks ago? Well, today I will show you a decorative way to organize your hand-made greeting cards. I started with a 7 Gypsies Library Drawer which comes with 12 dividers.
I traced one of the dividers onto Kraft cardstock and covered it with patterned paper from the Basic Grey "Curio" line. I added the "Never Forget" piece from the coordinating "pieces" set. I also used a few BG "Basics" Kraft Label Stickers along with a brad from MME, the Union Square "Favorite" Brads set. This serves as the front of the organizer.
You can cover the back of the index card dividers, as shown above, to label by type of card (thank you, birthday, congrats, etc). Or, you can use the cards as they come, labeled by month, shown below. There is a space to write the date and names of special card-giving occasions. I added a red brad for the January birthstone. Just add cards and you will be ready for those special days!
And one last close-up of the organizer filled with cards. I keep mine right on my desk so my cards are handy.
Thanks for the stopping by. I have really enjoyed my month of being Guest Designer for MemoryWorks. I am anxiously awaiting the new catalog, aren't you? Happy Spring!

Monday, March 28, 2011

Express Kit Monday - Farmers Market - Week 4

Happy Monday!!

So maybe Spring hasn't quite Sprung yet... but a girl can dream. And the March Express Kit, Farmers Market, has made me ready for all of the yummy veggies that we plant in our garden! I can almost feel the warm sun on my face as I pick juicy cucumbers and fresh corn, ahhh. Oh, wait, no... that was just the warmth of my little heater as I huddle in my scrapbook room staring at vivid colors of my Farmers Market Express Kit. We had 80 degree weather last week in NC, but now.. 30's. I know for some of you 30's seem warm, but not this Southern Girl. I am ready for Spring!

For the final March Express Kit Monday I couldn't help but share some project from a fellow MemoryWorks consultant, Rosann Elliott.

Lucky Me by Rosann Elliott:


Choo Choo by Rosann Elliott:


Great job Rosann, can't wait to see what else you 'Spring' up with!

If you would like to get your hands dirty with the Farmers Market Express Kit, just contact your local Independent MemoryWorks Scrapbook Consultant and they can fill you in on all of the great things Springing up at MemoryWorks!


Friday, March 25, 2011

Inspiration Friday - Simple Stories Pencil Toppers

Happy Friday everyone! I have a SIMPLE and fun project that is very versatile using the Simple Stories NEW flash card sheets and cardstock stickers!


For this quick project you will need:
Simple Stories: Flash Cards- Life Documented (SKU- SS1109)
Simple Stories: Expressions Cardstock Stickers- Life Documented (SKU- SS1103)
Simple Stories: Fundamental Cardstock Stickers- Life Documented (SKU- SS1102)
Glue Dots - Pop Up (SKU- JV008)
Flowers
Ribbon
Buttons and Thread
Pencils
Paper Trimmer

Using your trimmer, cut a slit about 3/4 of inch long in the center of the top and bottom of each card.


Embellish cards with buttons, flowers, and thread. Adhere with GLue Dots. Add cardstock stickers as desired.


Insert pencils and use a variety of ways:

Customer Make n Take
Easter basket goodies
End of school year student and teacher gifts
Instead of using pencils, use a popsicle stick and laminate the card and use as a plant marker.


This is a quick, fun and easy project! What are you being creative this weekend?

Wednesday, March 23, 2011

Product Showcase - Scrap Space Tour

I love looking at other people's scrap spaces, mostly so I can drool over how wonderful they are. Don't get me wrong, I'm not complaining. I spent several years with all of my scrapbooking goodies stored in a rolling tote that lived in the front closet. It was no fun pulling everything out to play only to have to pack it all away again. I am extremely thankful for my little wall space where I can keep everything out and play whenever I want. We are in the process of moving from our 3 bedroom apartment into a 4 bedroom house so I'm not sure what my scrap space future holds but this is what I am enjoying right now.


My scrap space is a 7 foot by 8 foot piece of wall with a desk and a bookcase. To the left of my bookcase is the kitchen and my dining room table, across from my space is our computer desk and to the right is our living room. This is the space we spend most of our days in so it's nice to be able to play while we are all together. The only down side is that I have a two year old daughter who loves to be in the middle of anything I'm doing. You'll notice that my bookcase is extremely top heavy, that's because little hands can reach anything on the bottom three shelves.

The very top of my bookcase holds my Cricut cartridges, inks, flowers, tool caddy and a couple of jars with ribbons and chipboard letters. The next shelf down is where I store my papers, Cuttlebug, Crop a Dile and Big Bite, the following shelf holds my stamps, Xyron and a few other miscellaneous items and the bottom two shelves are reserved for my baby Cricut, extra supplies and idea books. Under my desk I store my sewing machine (it's a vintage 1960's machine and super heavy so it only comes out once in awhile), travel tote, projects in progress and an accordion file with my scraps in it.


My desk holds all of my frequently used items and I *try* to keep it cleared off so I have a place to work when time allows. Honestly though, most days it looks like a bomb went off. The left side of my desk is reserved for my Cricut and my Gypsy while the right side is mostly tools.


I hope you enjoyed touring my little creative space. I'm so thankful to have a place of my own, it sure beats dragging everything out of the closet all the time!

Tuesday, March 22, 2011

Guest Designer - Express Kit

Today Lynn is going to share with us her projects she put together using the March Express Kit!

When I got my Express Kit I was so excited to see the vivid colors of the Echo Park papers! I knew they would be perfect for a layout I planned to do about my son and daughter who were both home for a short weekend last month.


Photobucket

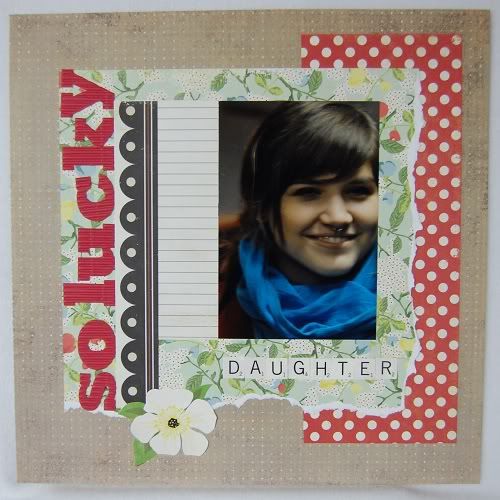
All these items were in the Express Kit, except for the Basic Grey "Basic" Kraft background paper and the Echo Park Alpha Stickers (so fun that they look like Scrabble letter since my daughter and I love a friendly, little Scrabble competition). I will add family pictures to this layout.

Photobucket

When I saw the market-themed papers from Webster's Pages I knew I had to create some kitchen organizers. I altered these items, most of them found in Michael's dollar bins, by covering them with patterned paper and adding embellishments from the kit.

Photobucket

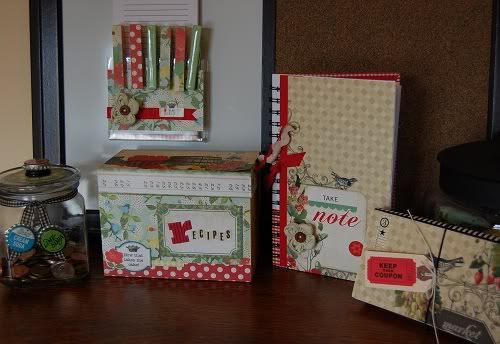
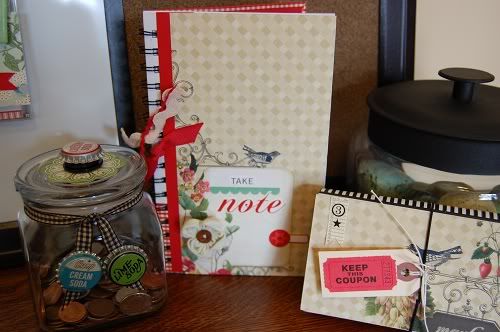
The glass jar was from a discount store and it will hold my "pop money". It was fun to use the bottle caps in this way. I made the top handle by stacking buttons with glue dots and adding a bottle cap on top.

Photobucket

Photobucket

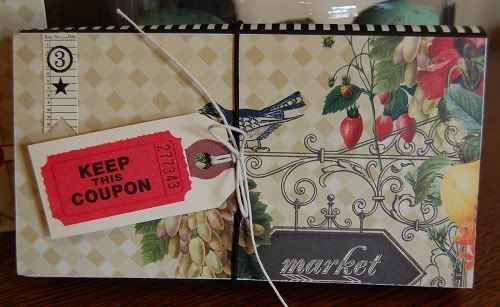
I just covered the front of this with patterned paper since the rest of the colors coordinated. Added the "coupon" tag to the fastener.

Photobucket

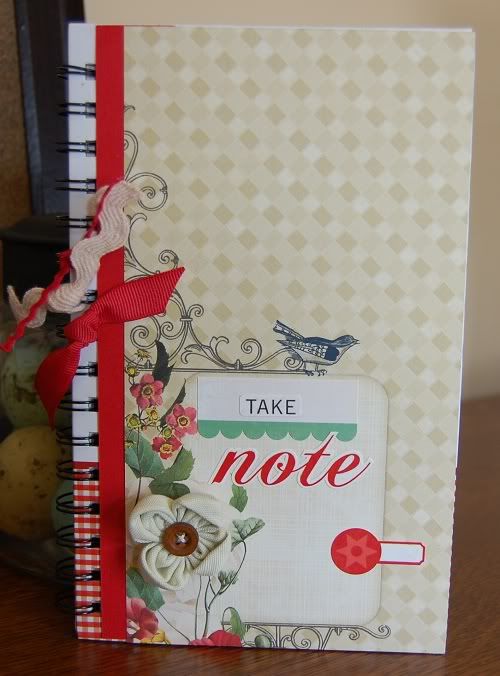
I covered the front only of the notebook, added some of the Echo Park stickers, ribbon and flower from the kit and now I have a matching notebook.

Photobucket

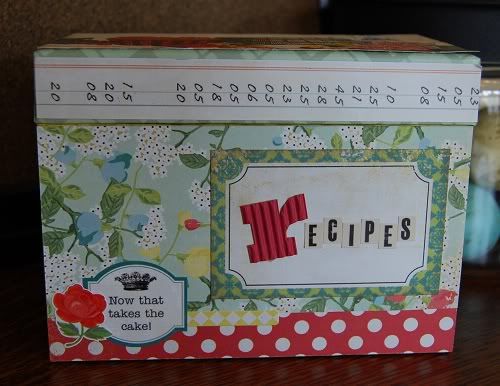
I covered the top and front of this recipe box and added some stickers to jazz up this recipe box. I have also altered these boxes to hold cards, changing the dividers inside to organize greeting cards.

Photobucket

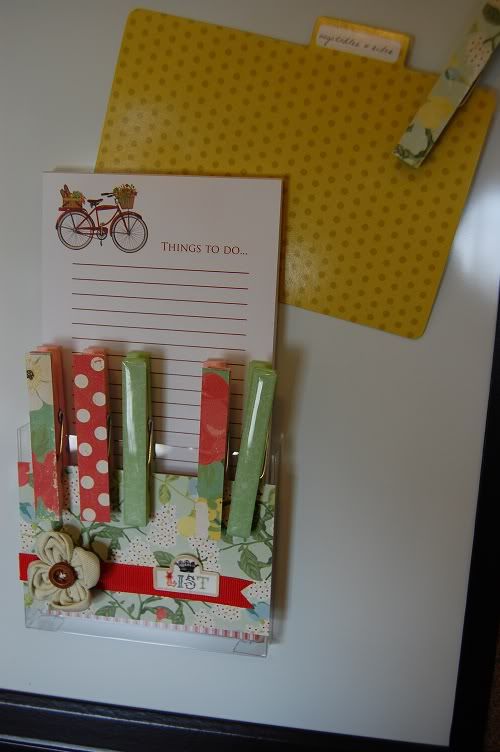
To make this list pad holder, I cut down a clear card box and covered the front with patterned paper and added some magnets to the back. The clothespins came from Michael's dollar pins and I just covered them with strips of patterned paper and added a magnet to the back. This magnet list pad, found in the same spot, really matched the vibe of the kitchen set so I just left as is. I am thinking this would make a nice Mother's Day gift!

CARDS
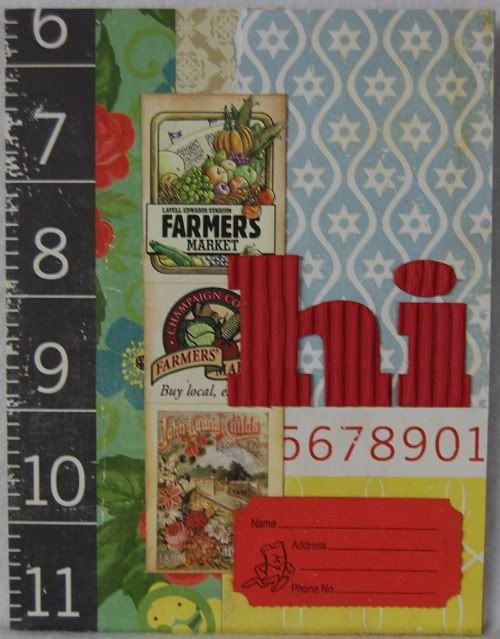
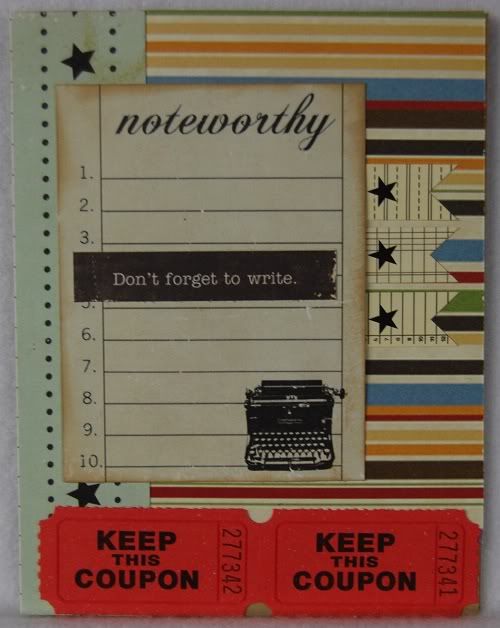
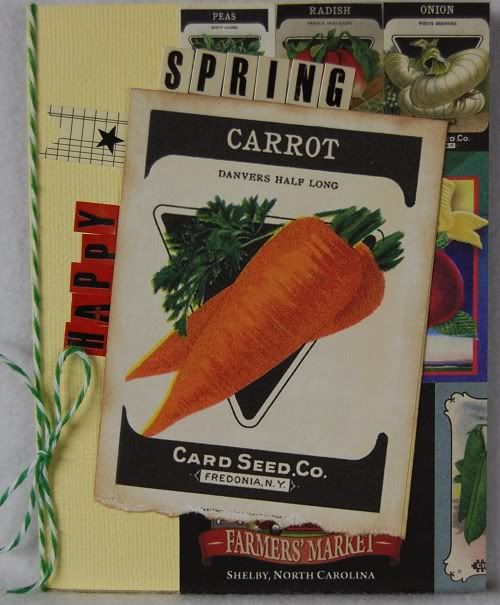
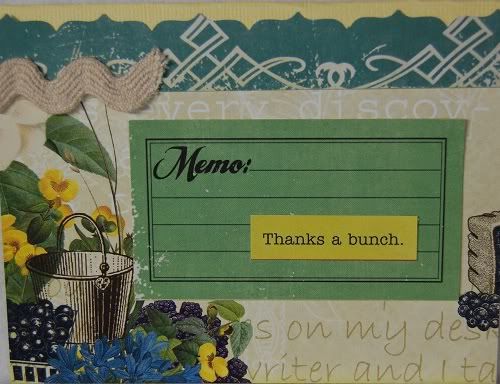
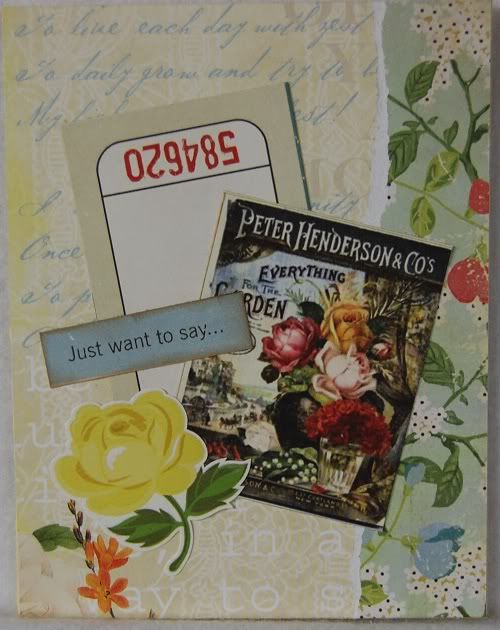
Making cards is my favorite paper-crafting activity. After making the layouts and altered items I just laid out all my scraps and started creating. The "market" and vegetable themed items challenged my imagination a bit. I think some of favorite cards here are the ones that I made just by matching up scraps, like in this "hi" card! Love those corrugated letters.

Photobucket

Photobucket


Photobucket


Photobucket


Photobucket


Photobucket

There you have it! A whole bunch of inspiration from Lynn! Can you believe how MUCH Lynn created with this kit? Every MemoryWorks Express Kit is LOADED with fantastic product to complete MANY projects and still probably have items left over! Contact a consultant near you to subscribe today!

Thanks Lynn for all the inspiration!

Monday, March 21, 2011

Express Kit Monday - Farmers Market Projects

Happy Express Monday, again!
Well, it's officially Spring, and I think I speak for everyone when I say "WELCOME". On the first day of warmer weather my inner child comes out with thoughts of walking barefoot through the green grass, and visiting the park on the weekends with a picnic basket. Or, in the car, rolling all of the windows down to feel the wind blowing through my hair while the warm sun is on my face.... ah, I love Spring!

The March Express Kit "Farmers Market" has such a Spring feel to it! All of the vivid colors and garden themes just make me want to start planting!

In honor of Spring, here are some fresh new projects by some of our TeamWorks members.


Cards by Sarah Crawford:

Altered bottles by Sarah Crawford:


Layouts by Sarah Crawford:


Cards by Sheri Feypel:


Layouts by Sheri Feypel:


Cards by Susan Nichols:


Altered Frame by Susan Nichols:


Layouts by Susan Nichols:


Great inspiration Ladies!
Don't forget, you can purchase the March Express Kit "Farmers Market" from your local Independent Scrapbook Consultant.

See you next Monday!